How to Recover Data from an Unallocated Hard Disk Without Losing Anything
If your drive or partition suddenly shows as “unallocated,” you’ve come to the right place. It may have happened without warning, after a system crash, or a partitioning mistake. Doesn’t matter. We’ll explain how unallocated drives work, what causes them to appear, and how to recover an unallocated disk without risking further problems.
Let’s walk through it together, step by step.
What Is an Unallocated Hard Drive or Partition (and Why Does It Happen)?
The first thing we want to answer is what “unallocated” actually means. When a drive or partition shows up as unallocated, it means that space isn’t assigned to any file system. Windows can see the storage, but it doesn’t know how to use it, so you can’t access your files and folders.
You’ve probably seen this in Disk Management. Instead of the usual blue bar, the section is black. And it just says “Unallocated.” It might show up after installing a new drive, but it can also happen out of nowhere - after a system crash, a failed OS update, or even something as simple as removing an external drive without ejecting it first.
There are other triggers too.
- Accidentally deleting the wrong volume (surprisingly common, just look at any Reddit thread on the topic).
- A disk cloning operation that didn’t complete.
- Partition software that misfires.
- Or physical problems with the drive, like sector damage.
- Malware has been known to cause this too. Some strains, like Petya, specifically go after the partition table or Master Boot Record (MBR), leaving the system unable to recognize the drive.
The result is the same: the system loses track of how to navigate that part of the disk.
What matters now is this - unallocated space doesn’t mean your data is gone. Physically, it is still on the drive (at least until it gets overwritten). The system just doesn’t know where the files begin or end, which is why you can’t see them. That’s what makes this situation recoverable. With the right approach, you can recover an unallocated disk without losing your data; just don’t rush to “fix” it too soon.
💡 Quick note. If you don’t need to recover any files from the unallocated space and just want to get the drive working again, you can skip the next section. That said, we’d still recommend giving it a quick read; it might save you from surprises later.
Step-by-Step on How to Recover Data from an Unallocated Hard Drive
The fact that the data is usually still there makes this one of the simpler types of data loss to deal with. If you leave the space untouched and avoid creating new partitions or formatting it, your chances of recovery are high. And yes, even if the drive looks empty, data recovery tools can still pull data out, as long as you give them a clean shot.
For this kind of job, we’ll demonstrate the process using our flagship program, Disk Drill. It’s a great fit for unallocated drive recovery for a few reasons: it can scan the entire disk or focus specifically on unallocated space, it can retrieve both existing and deleted data from that area, and it includes advanced features like byte-to-byte backup, which can be not only useful but necessary if the drive is starting to fail. Plus, it’s beginner-friendly without stripping away the depth power users might need.
💡 Note. While we’ve said that in most cases, data is recoverable from an unallocated disk, there’s one important caveat worth mentioning: SSDs are a special case. They use TRIM, which can wipe deleted data automatically in the background. If TRIM has already run, recovery may not be possible, even if the partition looks untouched. It’s still worth trying, but manage your expectations.
Let’s go through the steps with Disk Drill to recover data from an unallocated partition:
- Download the latest version of Disk Drill.
- Once the file finishes downloading, open it and follow the installation prompts. The setup is quick - agree to the terms, choose where to install, and let it finish.
- Make sure your unallocated hard drive is connected. If it’s external, plug it in directly or through a working USB port.
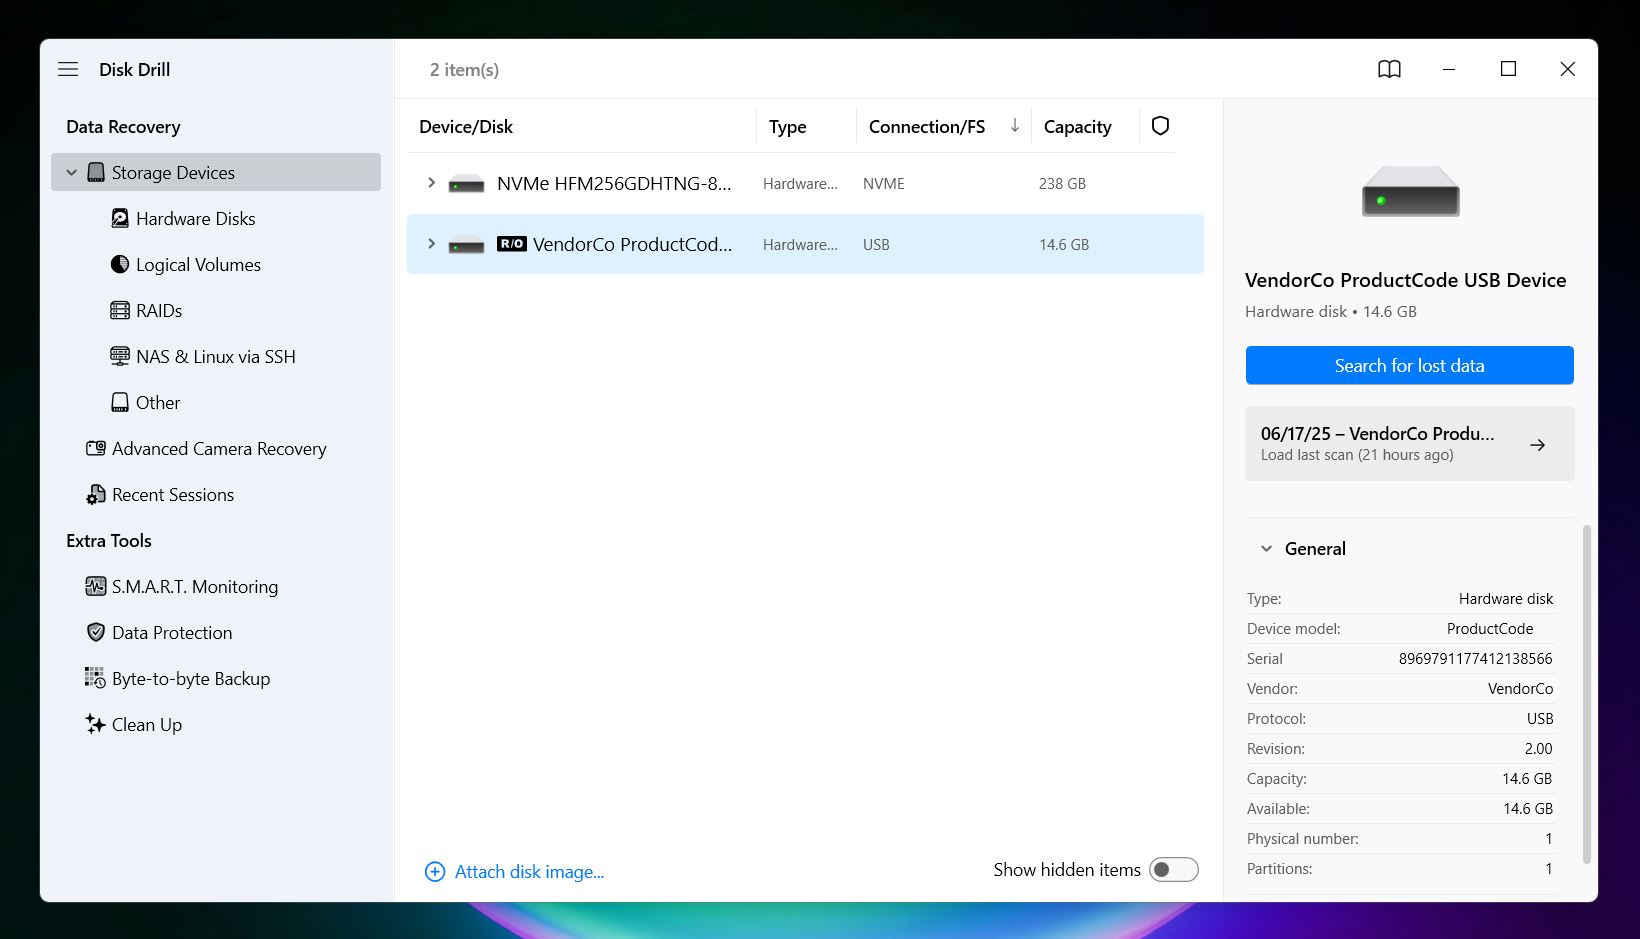
- Launch Disk Drill. On the main screen, you’ll see a list of connected storage
devices. Find your unallocated drive and select it. You can scan the entire disk,
which is usually the safer bet. But if you expand the list of partitions under that
drive, you might see an entry labeled “Unallocated”; you can target that
specific area if needed.
- (Optional) If you suspect the issue was caused by physical problems with the
drive, it’s a good idea to add one more step: create a byte-for-byte backup
first. This protects your data from further degradation by letting you scan a safe
image file instead of stressing the failing drive directly. You’ll find this
option under Extra tools > Byte-to-byte Backup in Disk
Drill’s sidebar.
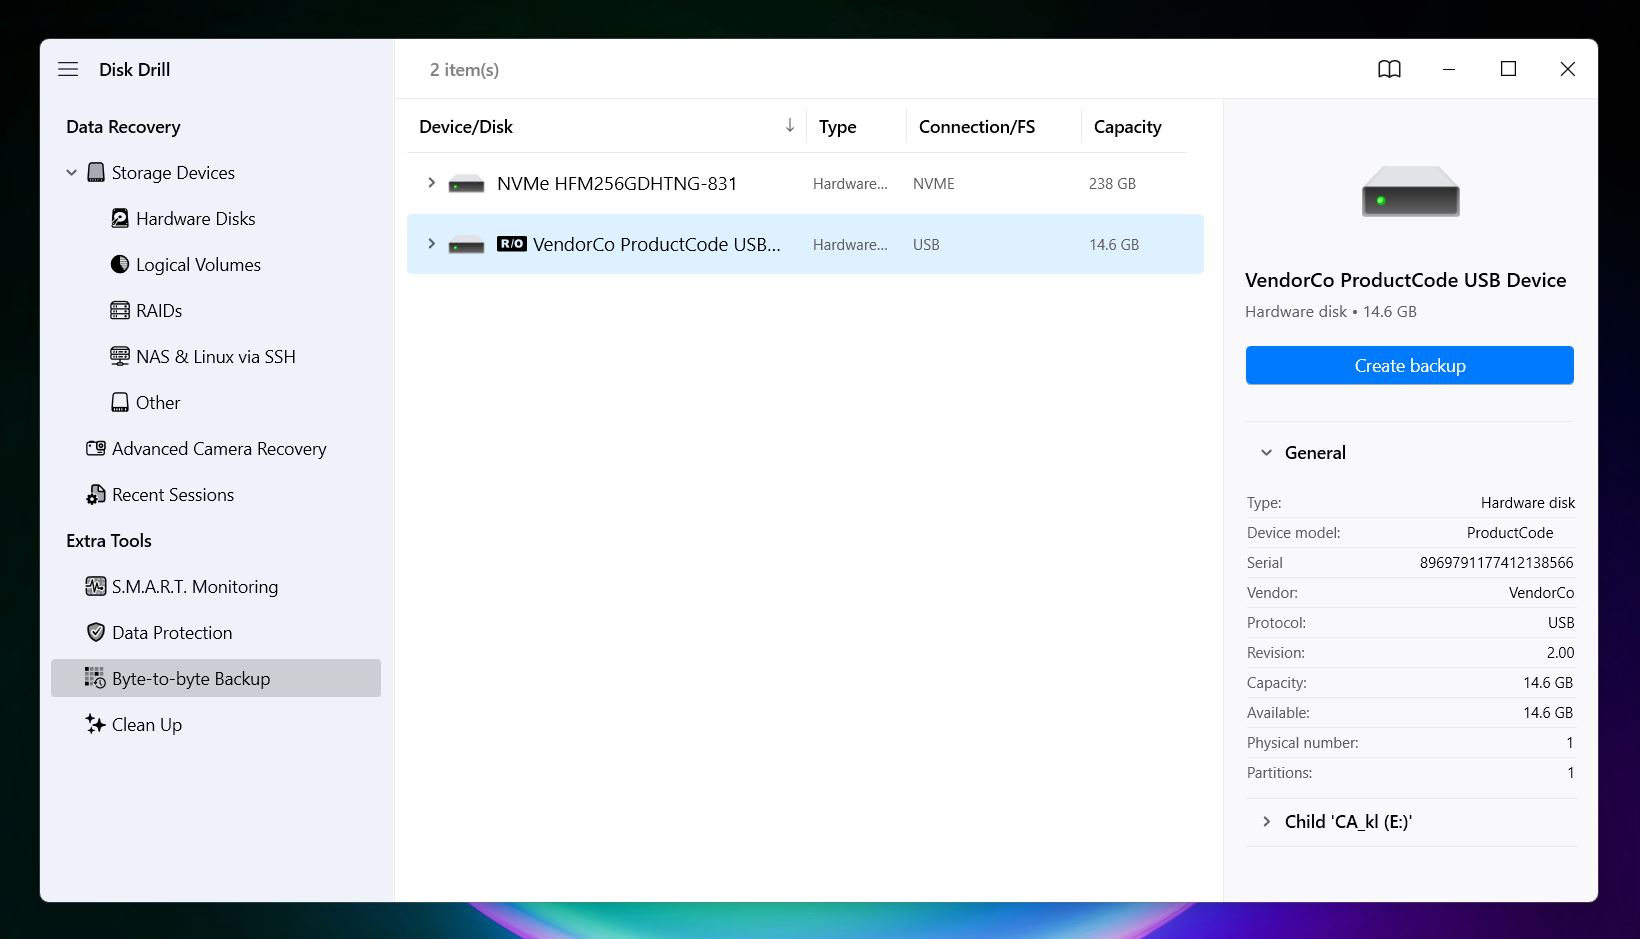 Select the hard drive with the unallocated space and click Create
Backup. Save the image file to a different drive, not the one
you’re backing up.
Select the hard drive with the unallocated space and click Create
Backup. Save the image file to a different drive, not the one
you’re backing up.
- (Optional) If you’ve created a disk image, you can scan that instead. Click Attach disk image, browse for your backup file, and double-click it. The image will then show up as a separate drive in the main list, ready to scan like any other device.
- No matter what you selected (the physical drive or its disk image), the next step is
the same. Click Search for lost data, then go with the default
Universal Scan mode. This scan combines both quick and deep scanning
techniques, which works especially well for unallocated drives where the file system
is missing, damaged, or completely gone.
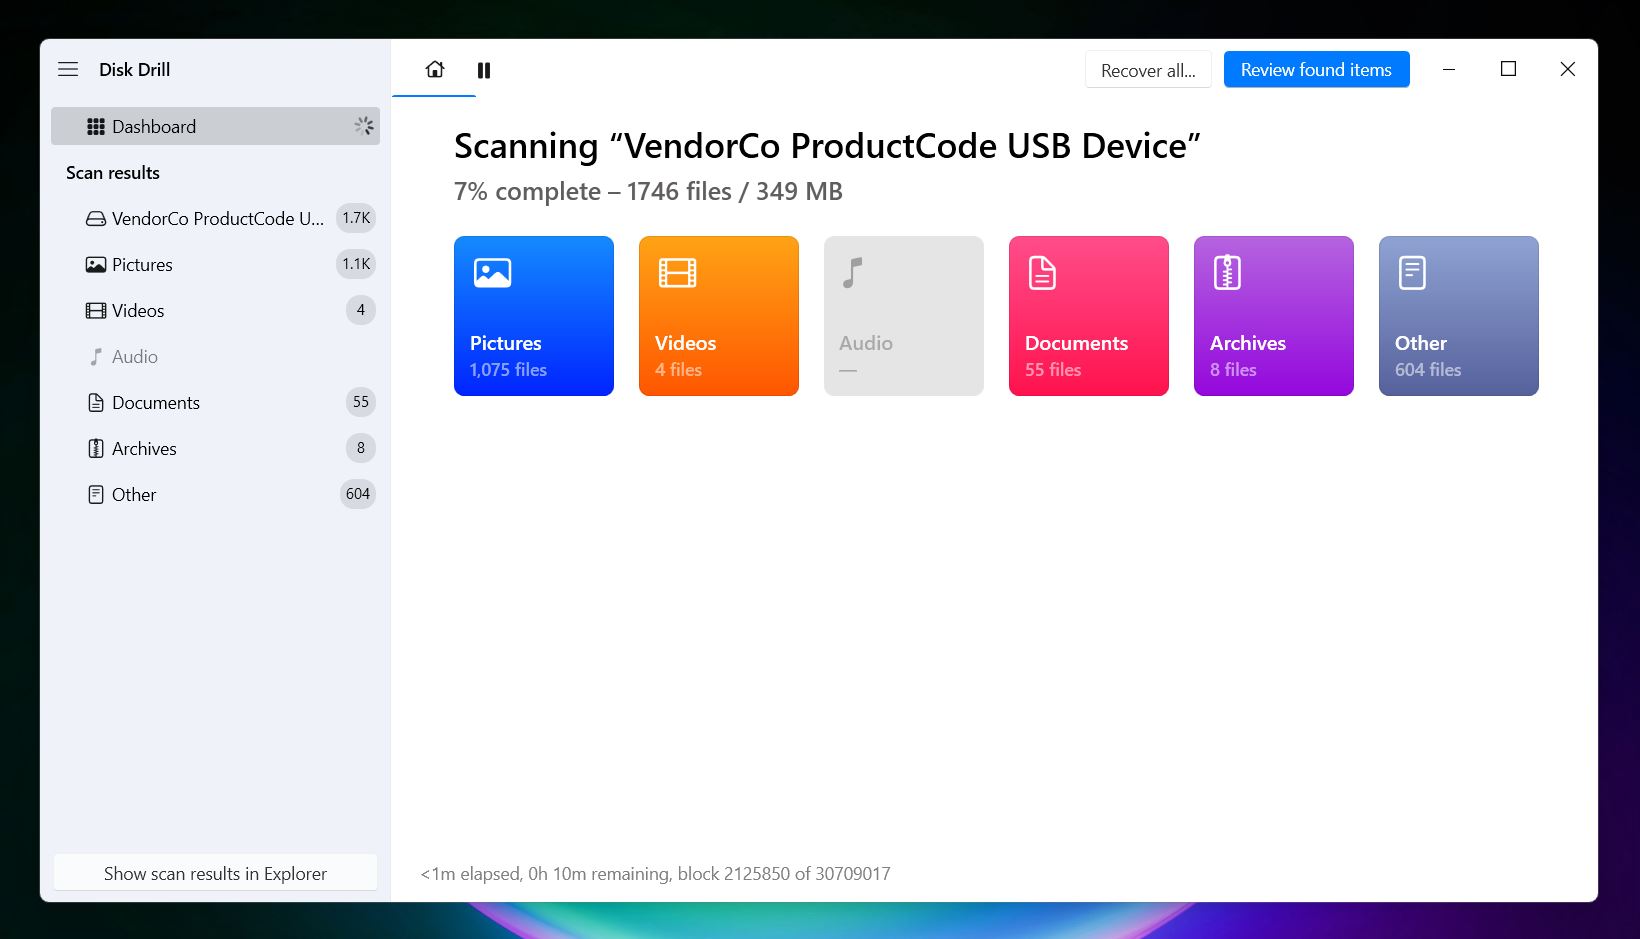
- The scan may take a while, depending on the drive size and condition. You can browse through results as they appear, or wait until the scan finishes and click Review found items.
- Once results are in, you’ll see files grouped by type - Pictures, Video,
Audio, Documents, and so on. At this point, you can either click
Recover all to save everything Disk Drill found, or hit
Review found items to explore the recoverable content in more
detail. If you’re after something specific, the search bar is handy (just type
in a file extension or keyword to narrow things down quickly).

- Want to check a file before recovering it? Click the eye icon next to it to preview. Most common photo, video, and document formats can be opened directly inside Disk Drill. If your OS can open the file (either natively or with a viewer you’ve installed), Disk Drill should be able to preview it too.
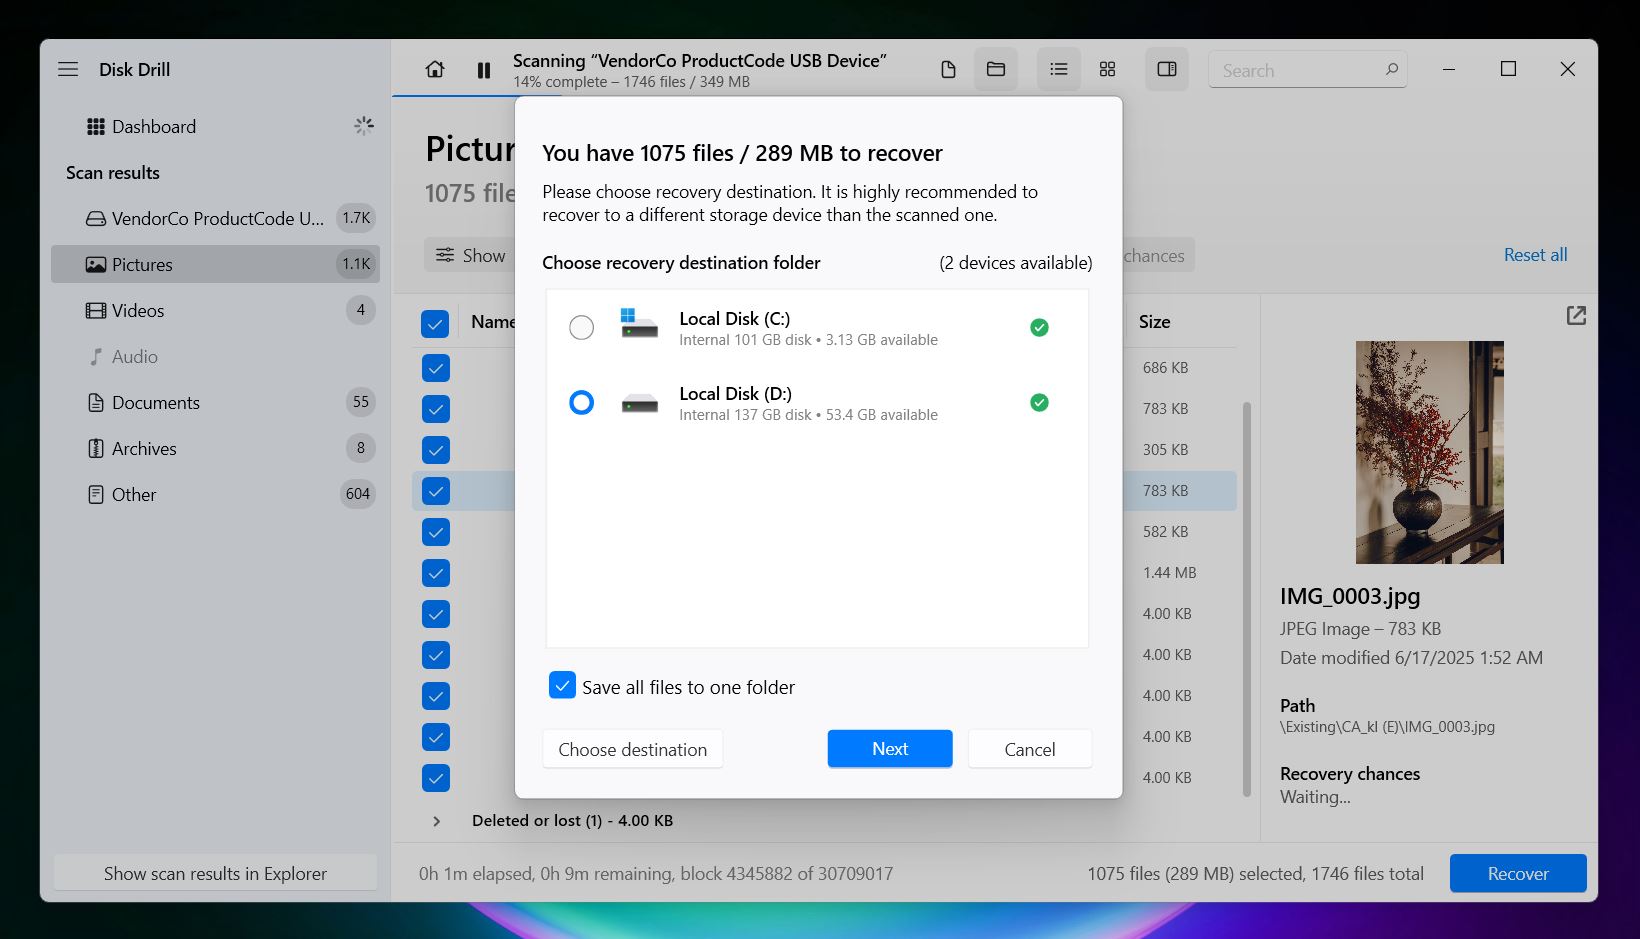
- When you’re ready, select the files you want to save and hit
Recover. Choose a safe destination, not the same unallocated
drive. Disk Drill will warn you if you try to recover to the same disk,
since that can overwrite data you haven’t saved yet.
- Once recovery is complete, open the destination folder and review your files.
You can also check out another useful Disk Drill feature called S.M.A.R.T. monitoring. It gives you a quick look at the overall health of your drive, things like temperature, bad sectors, and read errors. This can help you figure out if the unallocated space is a symptom of a failing drive, which is especially helpful if you’re deciding whether to keep using it or replace it after recovery.
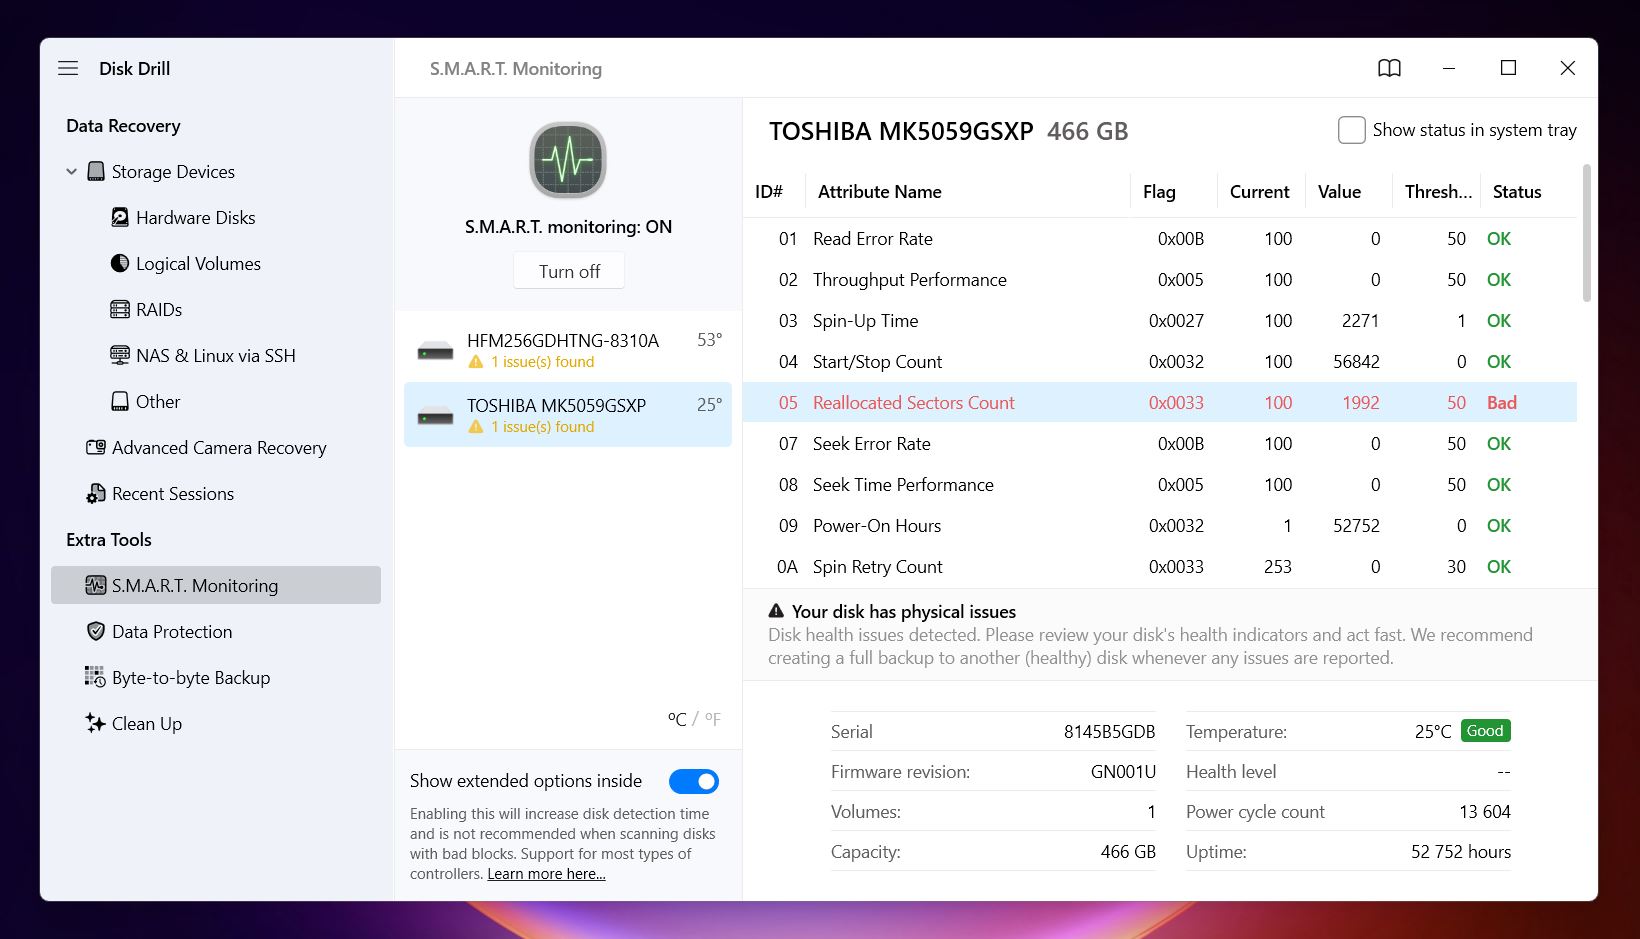
If the status shows “Good” in green, the drive is fine to keep using once you make the space usable again (which we’ll cover next). But if you see warnings or red “Bad” status, like in the screenshot above, we wouldn’t recommend trusting it with anything important going forward, even if the recovery went well.
💡 Note. Disk Drill is a freemium tool: on Windows, you can recover up to 500 MB of data for free. But all the extra tools, like S.M.A.R.T. monitoring, disk imaging, and the scans themselves, are fully unlocked with no restrictions.
How to Bring an Unallocated Partition Back to Normal After Recovery
Okay, so now your data is back - that’s the hard part out of the way. All that’s left to do is bring the unallocated space back into working shape so your system can use it again. Whether you want to create a new partition, extend an existing one, or try to restore the original partition structure, there are a few safe ways to handle it.
Let’s walk through your options.
Method 1: Create a New Partition Using Disk Management
This is the most common fix (and the simplest), especially if you don’t need to restore the original partition structure and just want the drive working again. Here’s what to do:
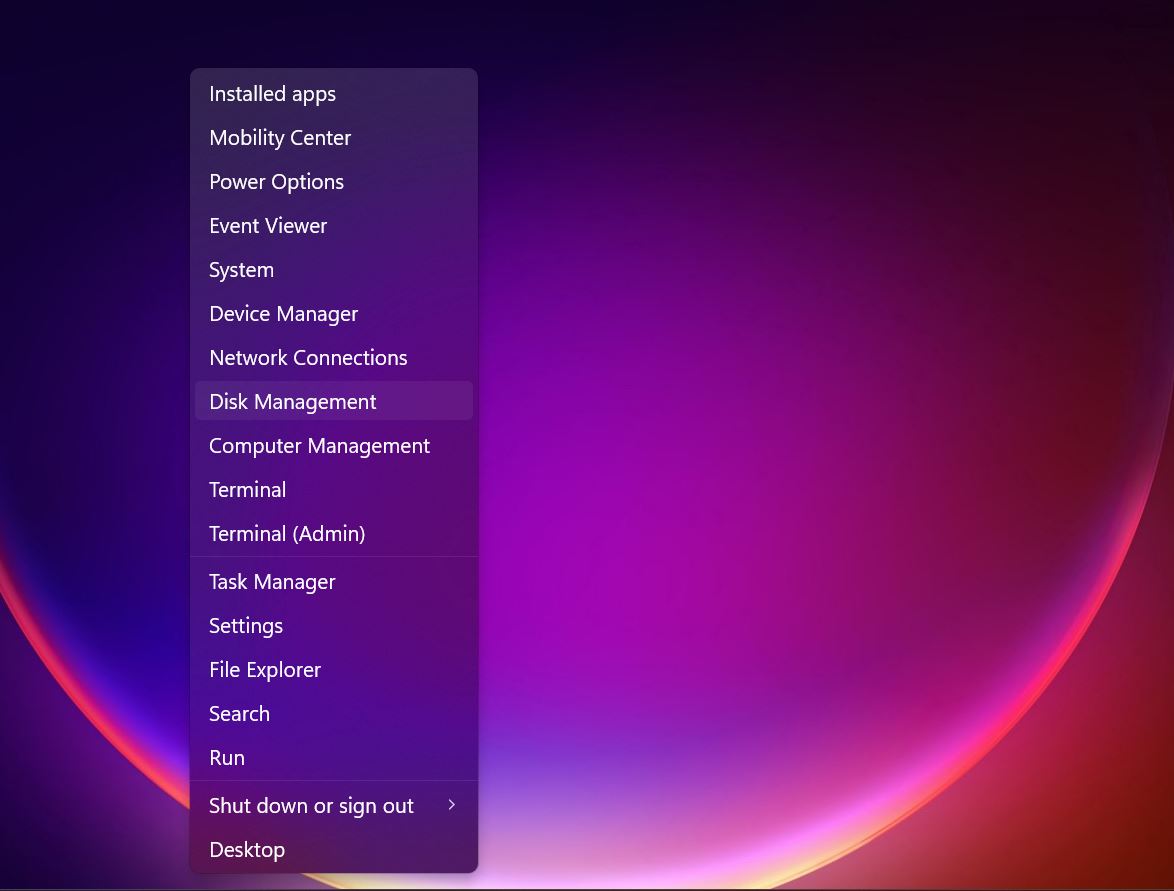
- Right-click the Start button and choose Disk Management.
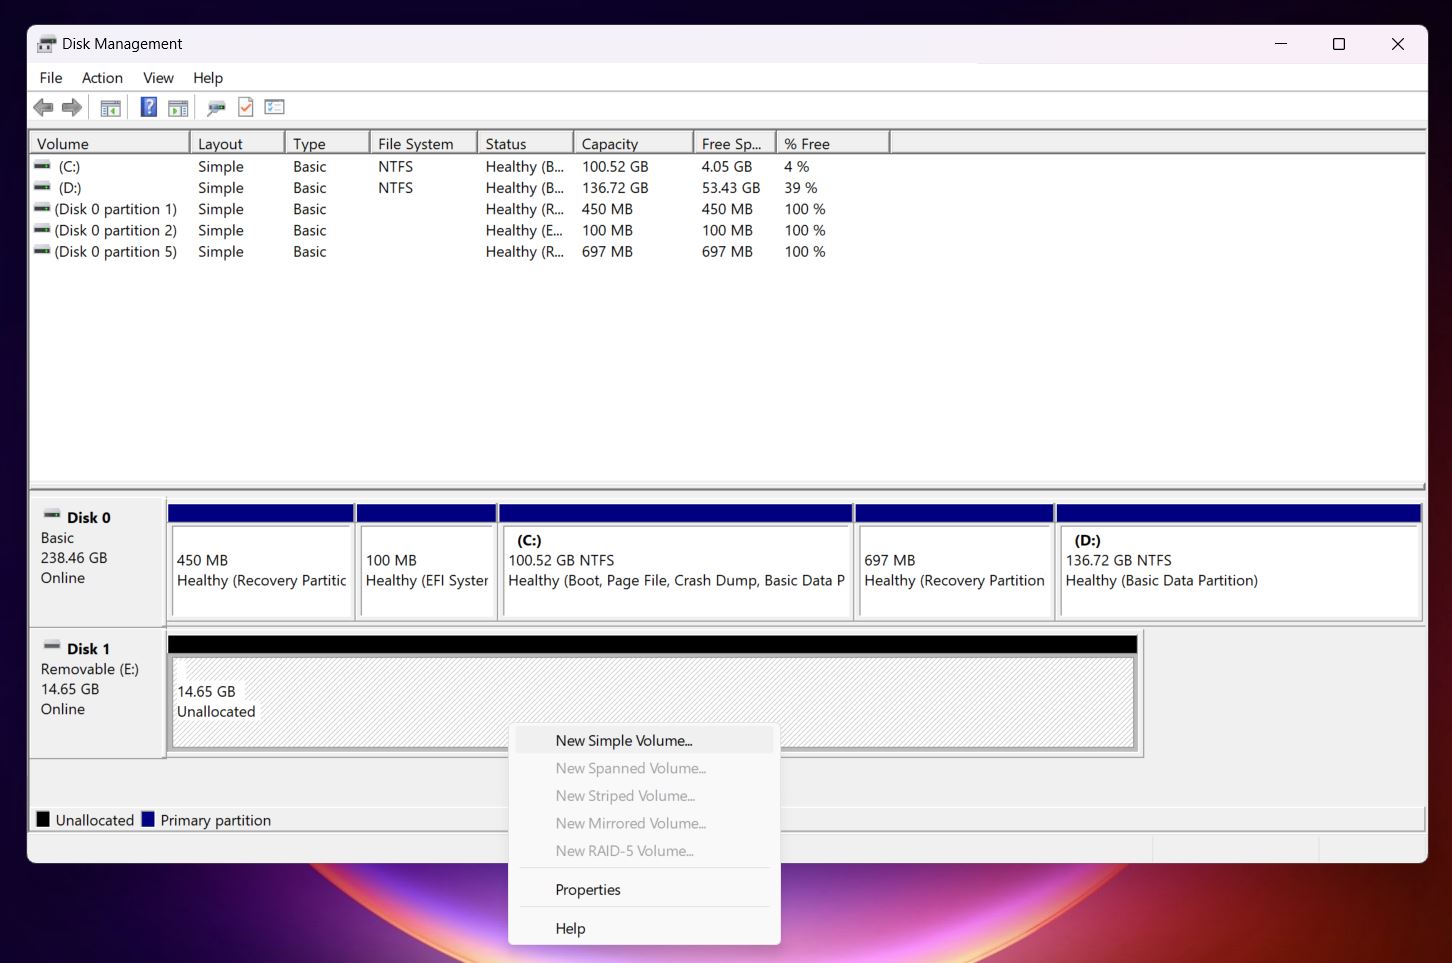
- Look for the disk that has unallocated space, it’ll have a black bar and say “Unallocated” below.
- Right-click the unallocated space and select New Simple Volume.
- The wizard will walk you through a few quick steps: set the size (you can usually
leave it at the max), assign a drive letter, and choose the file system. Leave it on
NTFS unless you have a specific reason to use something else.
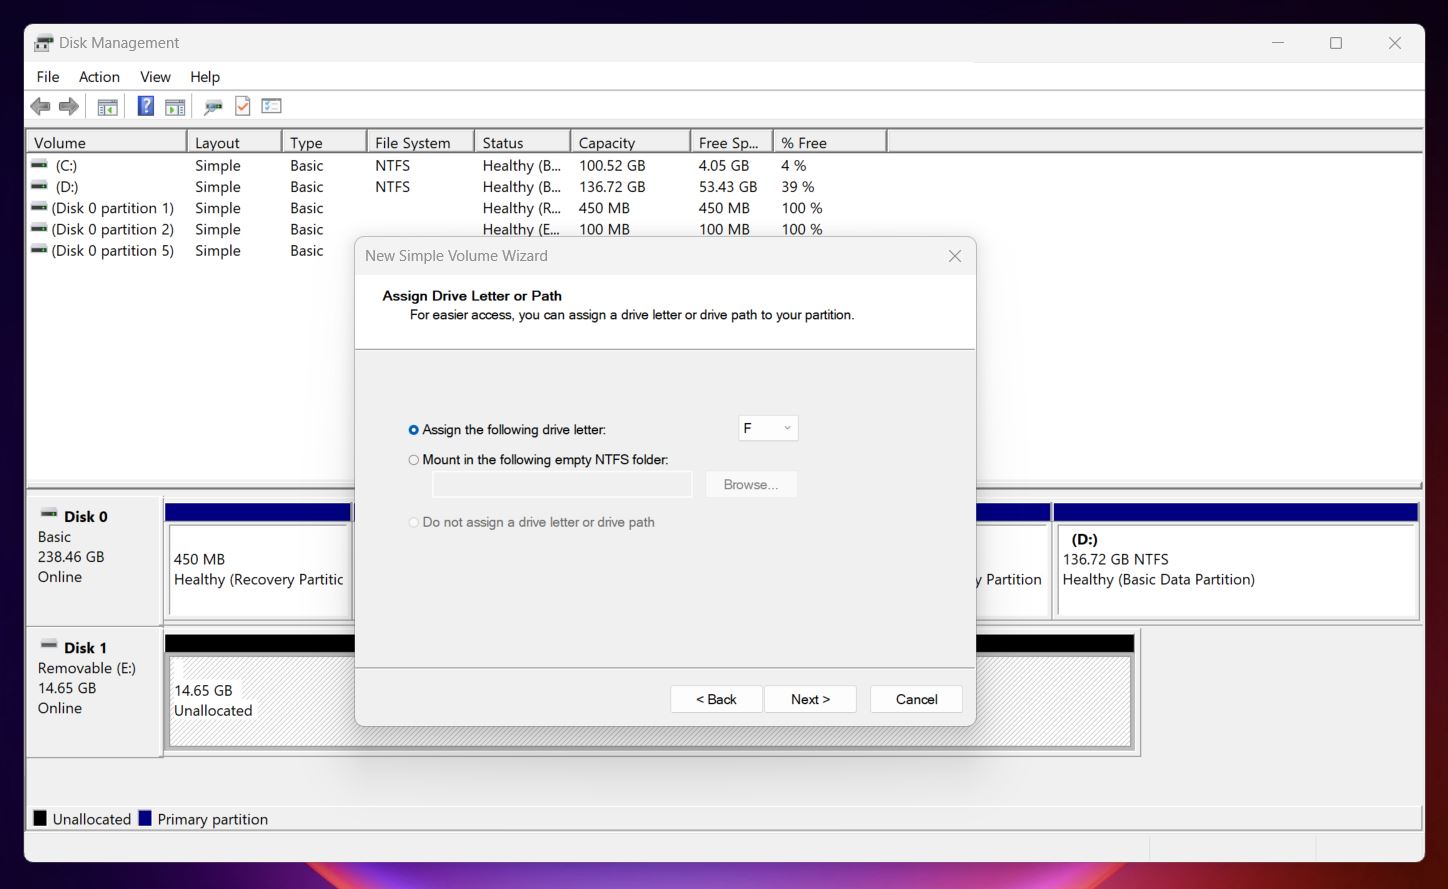
- Make sure Perform a quick format is selected, then click Finish.
Windows will format the space and assign it a letter, and the partition will now show up in File Explorer like any other drive. If S.M.A.R.T. status looked good earlier, you’re good to go, start using it again as normal.
Method 2: Extend an Existing Partition Into the Unallocated Space
If the unallocated space sits right next to a healthy partition on the same drive, you don’t need to create a new one - you can just extend the existing partition to fill the gap. Here’s how to do it:
- Open Disk Management and locate the unallocated space.
- Now, check if the partition you want to extend is directly to the left of it (on the same row).
- If it is, right-click that partition and select Extend Volume.
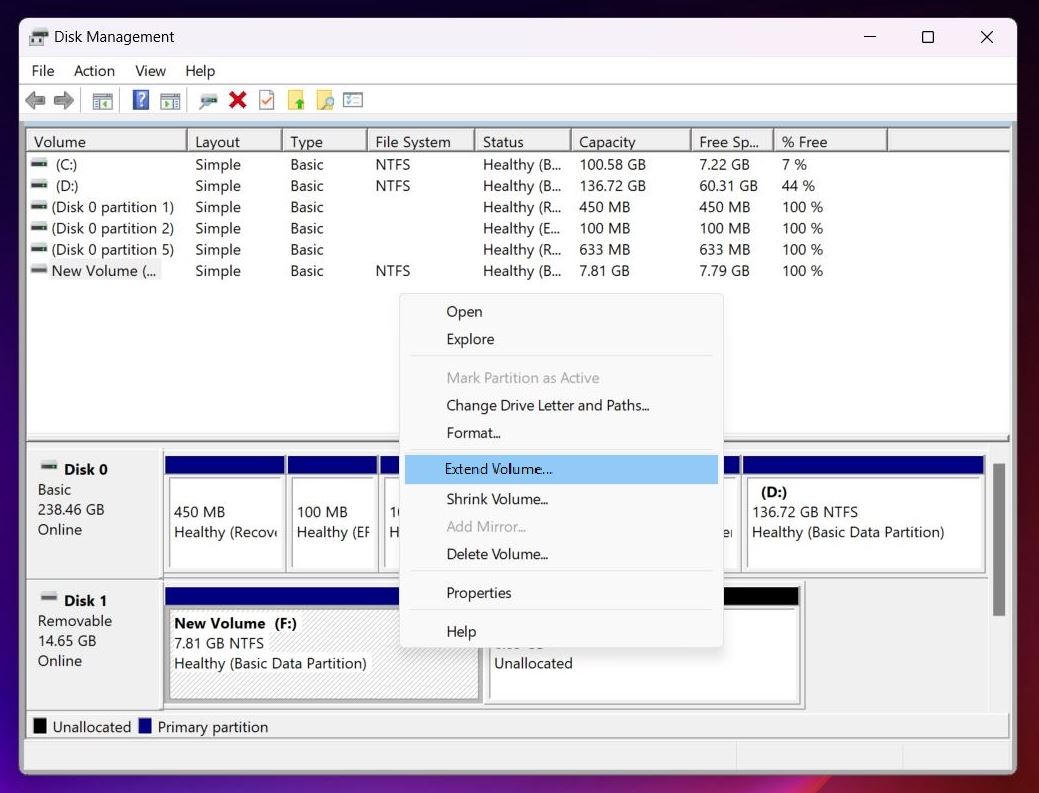
- The wizard will launch and automatically select the available unallocated space. Click Next, then Finish.
That’s it. The extra space will be added to the existing partition without affecting your files.
⚠️ Sometimes, it’s not that simple. If there’s even a small partition between the two (even something as tiny as a system or recovery partition), the Extend Volume option will be grayed out. This issue comes up a lot on Microsoft’s support community forums. If the unallocated space isn’t directly next to the partition you want to expand, or if the Extend Volume option is unavailable, you’ll either need to shift things around using third-party partition software or stick with Method 1 and create a new partition instead.
Method 3: Recover the Original Partition Using TestDisk
We’ve saved this one for last because it’s a bit more technical and only applies to specific cases. TestDisk is a command-line tool designed to rebuild damaged partition tables. It can rebuild your drive’s original structure, file system and all, without creating new partitions from scratch.
This method makes sense if your partition disappeared due to corruption, accidental deletion, and you want to restore it as it was. That said, most people who’ve already recovered their data may prefer to stick with one of the earlier, simpler methods and call it a day. We get that. But we still feel it’s worth covering TestDisk; it’s free, powerful, and in the right situation, can save a lot of time. So let’s see how to use it to recover a lost partition, or more specifically, how to recover an unallocated partition using TestDisk:
- Head over to the official TestDisk site and grab the stable 7.2 release. Version 7.3 is available, but 7.2 has proven to be more reliable in real-world cases like this.
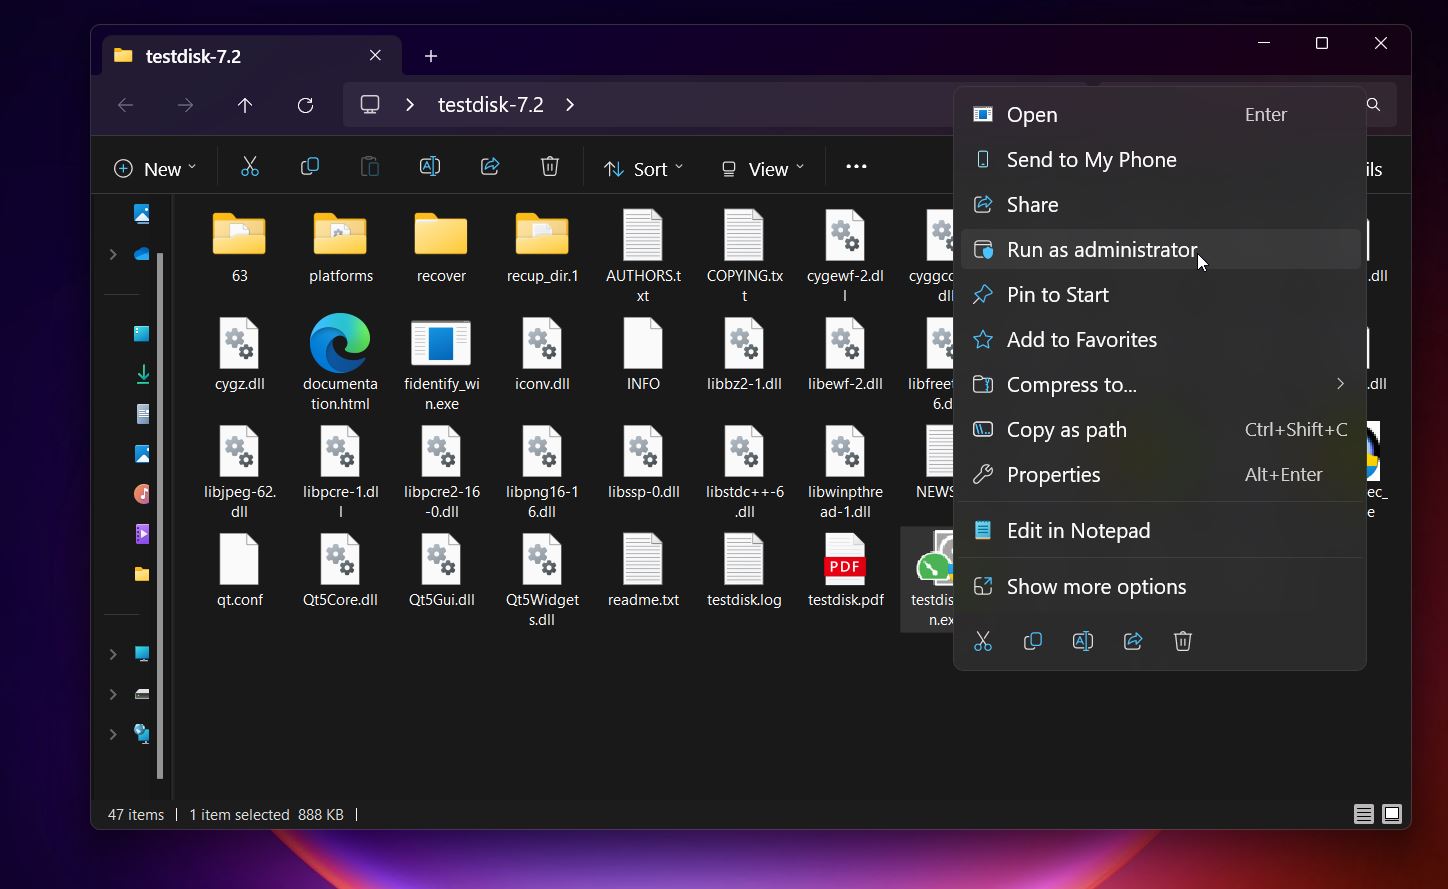
- Once it’s downloaded, extract the folder somewhere easy to find. Open it, then
right-click on testdisk_win.exe and select Run as
administrator.
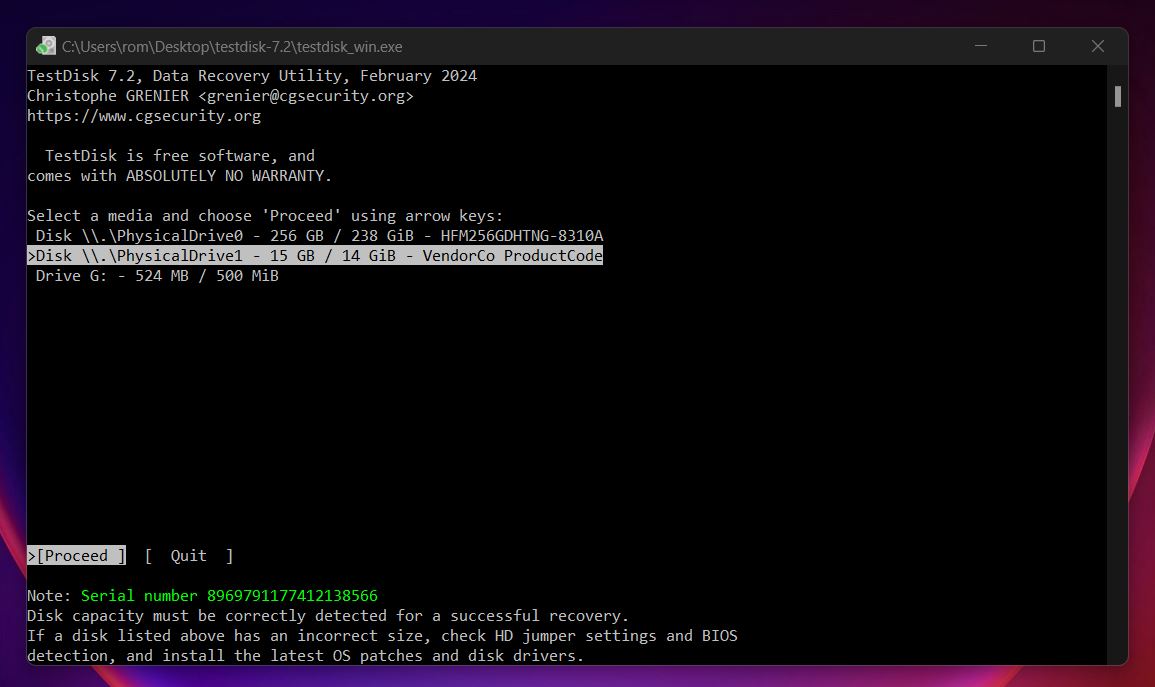
- When TestDisk opens, it’ll ask how you want to handle the log file. Choose [Create]; this just saves a log of what TestDisk does. It won’t affect the recovery.
- Next, you’ll see a list of your connected drives. Use the arrow keys to
highlight the one with the unallocated space and hit Enter.
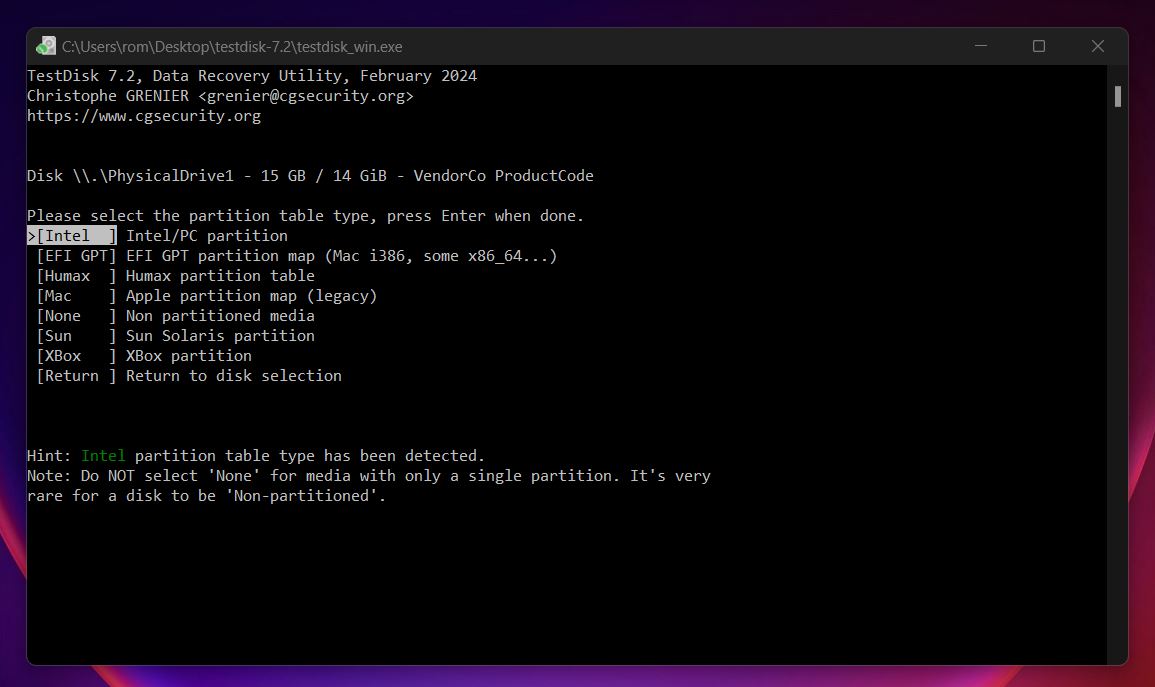
- TestDisk will automatically detect the partition table type. You can usually go with
the default and press Enter again.
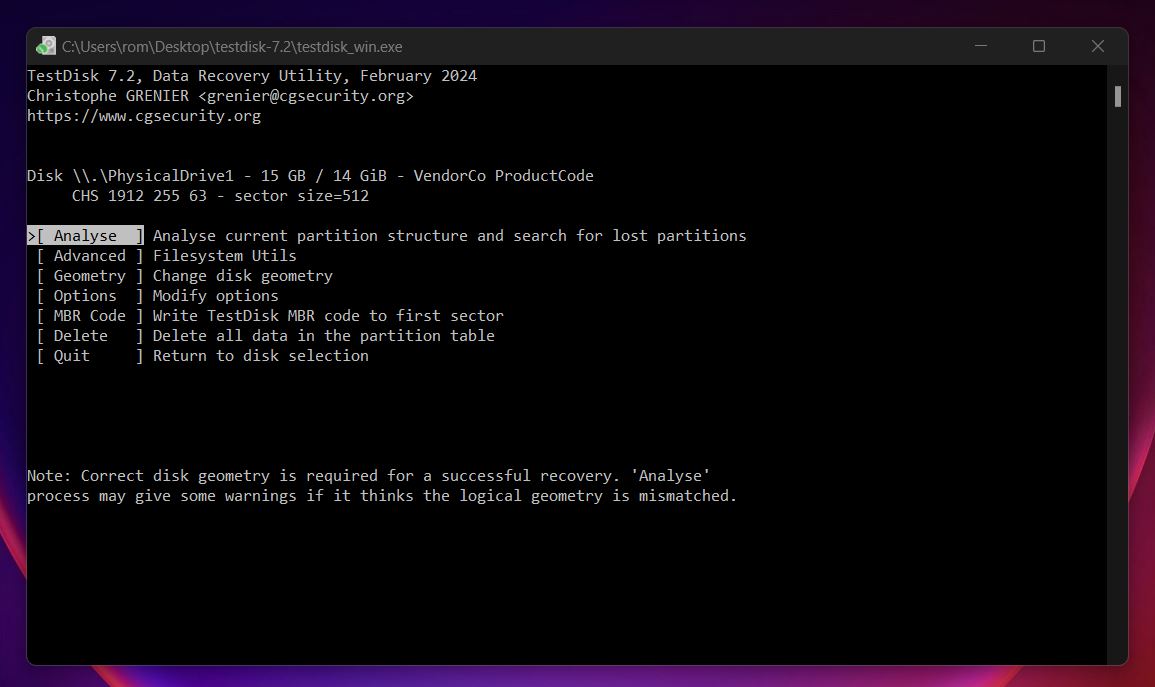
- Now select [Analyse] and press Enter to start
scanning for lost or deleted partitions.
- If nothing useful shows up, go ahead with a [Quick Search] or, if
needed, [Deeper Search] for a more thorough scan.
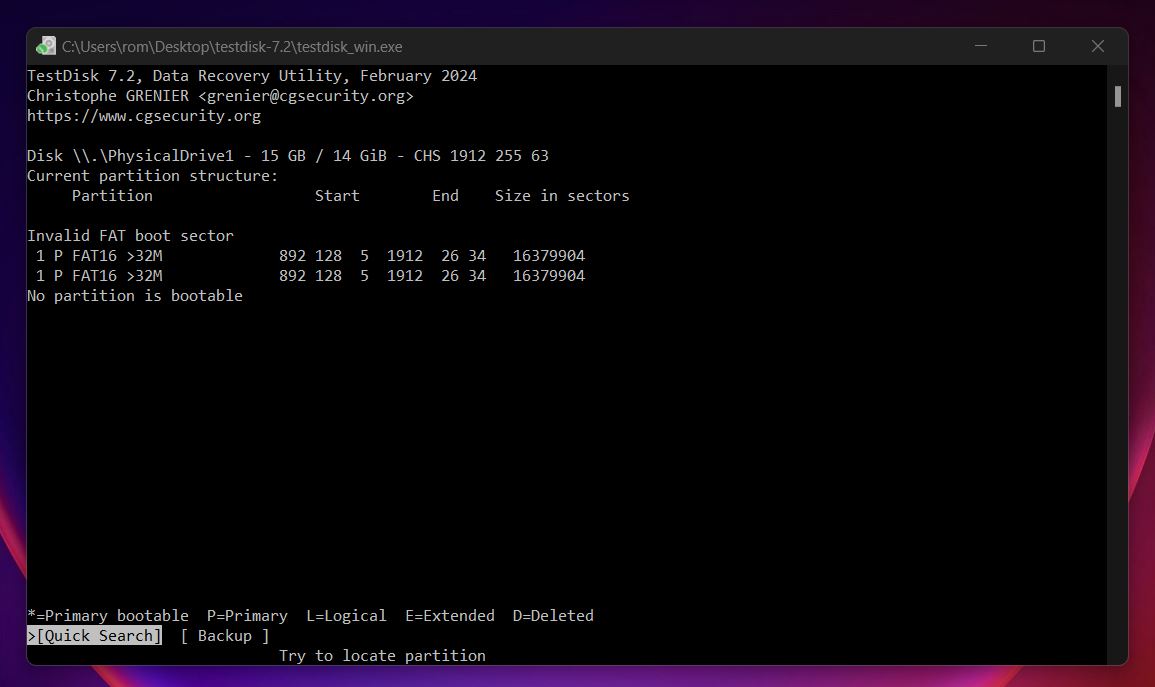
- Once you see the missing partition, highlight it. You can press P to look inside and confirm the files are still there.
- If everything checks out, press Enter, then choose [Write] to restore the partition structure. Hit Y to confirm.
- After that, select [Quit] to exit TestDisk and restart your computer.
If the process worked, your previously unallocated partition should now show up like normal in File Explorer and Disk Management.
Common Misconceptions and Mistakes in DIY Unallocated Disk Recovery
Before we end here, we wanted to talk about common mistakes and misconceptions around unallocated disk recovery. We’ve seen a lot of people fall into the same traps. Some of them are understandable, others entirely avoidable.
- One of the gravest mistakes is doing something rash, like formatting the unallocated partition or creating a new volume on top of it. While it’s true that data can often be recovered even after formatting (with quick formats), you’re still gambling. Every action you take on that drive increases the risk of overwriting the old file structure. What was once a straightforward recovery can turn into a mess.
- Also worth mentioning: built-in Windows tools (like Disk Management) won’t help you recover files. They’re great for setting up a healthy drive after recovery, but if your goal is to get your files back, don’t lean on them first.
- We also see folks jump into recovery tools without checking if the drive is physically failing. If your drive is clicking, stalling, or throwing up errors, the best move is to create a byte-for-byte backup before scanning. It’s safer for the data and gives you a fallback if things go south.
- Lastly, don’t assume all “unallocated” disks are lost causes. Sometimes it’s a partition table error, or a botched cloning job, or malware wiping MBR entries. With the right steps and tools, recovery is often possible (if you don’t rush and overwrite the evidence).
Final Thoughts
In most cases we’ve seen, the steps we covered here should give you the best shot at recovering data from an unallocated drive or partition.
Of course, there are fringe cases where recovery becomes unlikely. If the unallocated partition was encrypted with BitLocker, and you’ve deleted it or lost the encryption keys, recovery is nearly impossible. Your files are scrambled, and even commercial BitLocker recovery tools rarely get you anywhere. The same goes for SSDs where the TRIM command has already wiped the affected blocks clean. At that point, there’s not much left to recover.
The truth is, data recovery always depends on a bunch of factors: drive type, how the data was lost, and what actions were taken afterward. No guide can guarantee your results, but if you follow the right steps and stay cautious, you’ll have a solid shot.